Today at work I held my granny smith apple in my hand and stared at it. I really wanted some apple flavor, but I didn't feel like just eating a plain apple. Still not quite sure how to solve this dilemma, I stuffed it in my bag and headed home early (snow today!).
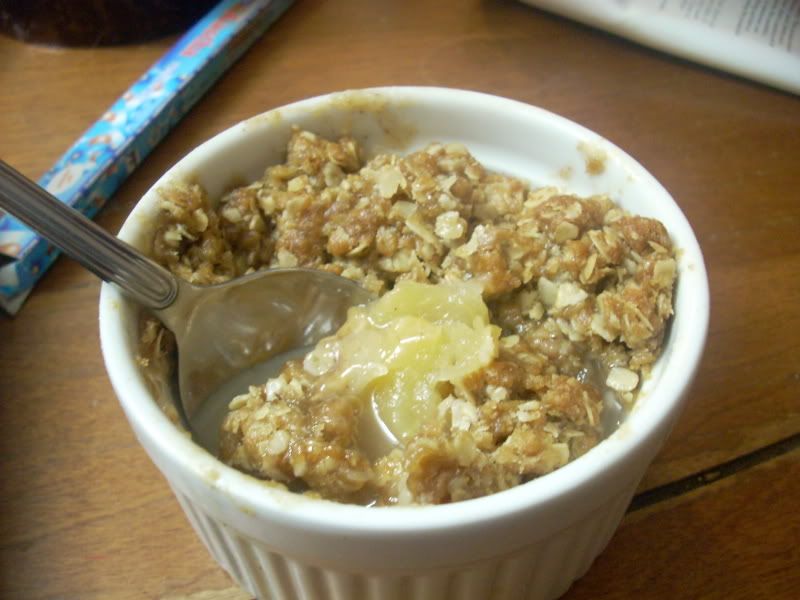
After I woke up from my nap, I still wanted the apple. I meandered into the kitchen.... saw my roommate's oatmeal sitting out. Apple crisp! Of course! But I only had two apples (a honeycrisp and the granny smith). I decided to make a "mini crisp." My roommate and I had them after our dinner, and we both enjoyed them thoroughly.
Preheat oven to 350 degrees
To make this seriously fast, easy and delicious crisp, you'll need:
3 ramekins
2 apples, peeled and sliced
2 Tbsp of granulated sugar (originally I had 3 Tbsp, but I thought it was a bit sweet)
3 Tbsp of brown sugar (packed or unpacked, who cares)
1 packet of instant oatmeal (I just happened to have maple and brown sugar flavor on hand) OR 4 Tbsp of instant oatmeal
2 1/2 Tbsp of melted butter
pumpkin spice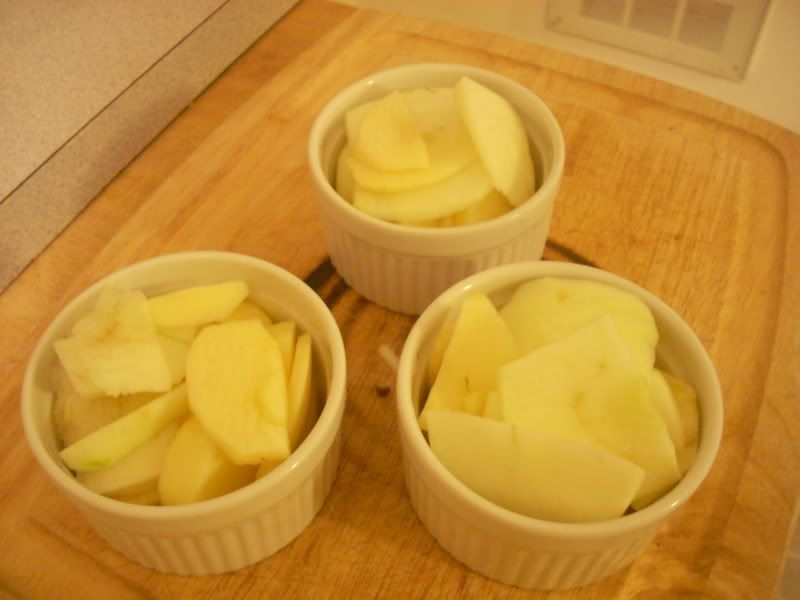
cinnamon
1/4 c water
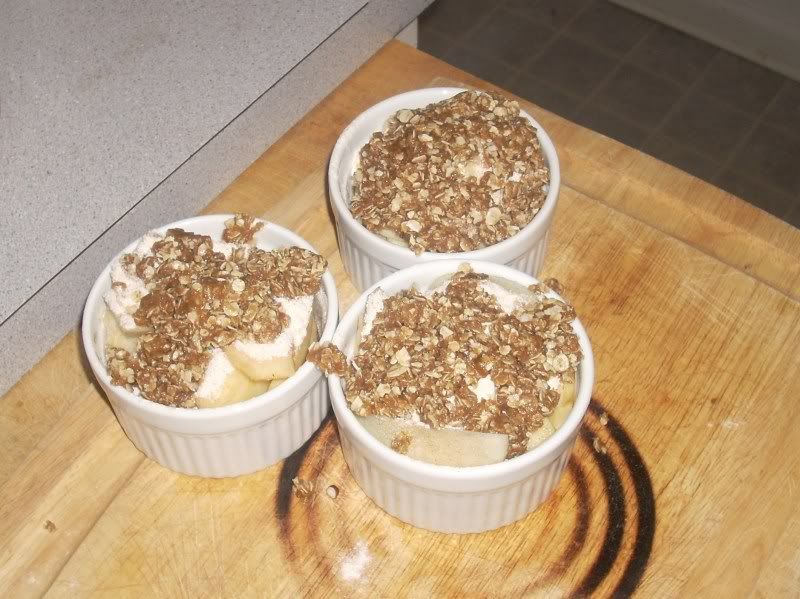
After peeling and slicing the apples, place the pieces in the the ramekins, filling them almost to the top.
Combine the granulated sugar and 1 Tbsp of flour with 2 shakes of pumpkin spice and 2 shakes of cinnamon. Sprinkle this evenly over the apples.
After I woke up from my nap, I still wanted the apple. I meandered into the kitchen.... saw my roommate's oatmeal sitting out. Apple crisp! Of course! But I only had two apples (a honeycrisp and the granny smith). I decided to make a "mini crisp." My roommate and I had them after our dinner, and we both enjoyed them thoroughly.
Preheat oven to 350 degrees
To make this seriously fast, easy and delicious crisp, you'll need:
3 ramekins
2 apples, peeled and sliced
2 Tbsp of granulated sugar (originally I had 3 Tbsp, but I thought it was a bit sweet)
3 Tbsp of brown sugar (packed or unpacked, who cares)
1 packet of instant oatmeal (I just happened to have maple and brown sugar flavor on hand) OR 4 Tbsp of instant oatmeal
2 1/2 Tbsp of melted butter
pumpkin spice
cinnamon
1/4 c water
After peeling and slicing the apples, place the pieces in the the ramekins, filling them almost to the top.
Combine the granulated sugar and 1 Tbsp of flour with 2 shakes of pumpkin spice and 2 shakes of cinnamon. Sprinkle this evenly over the apples.
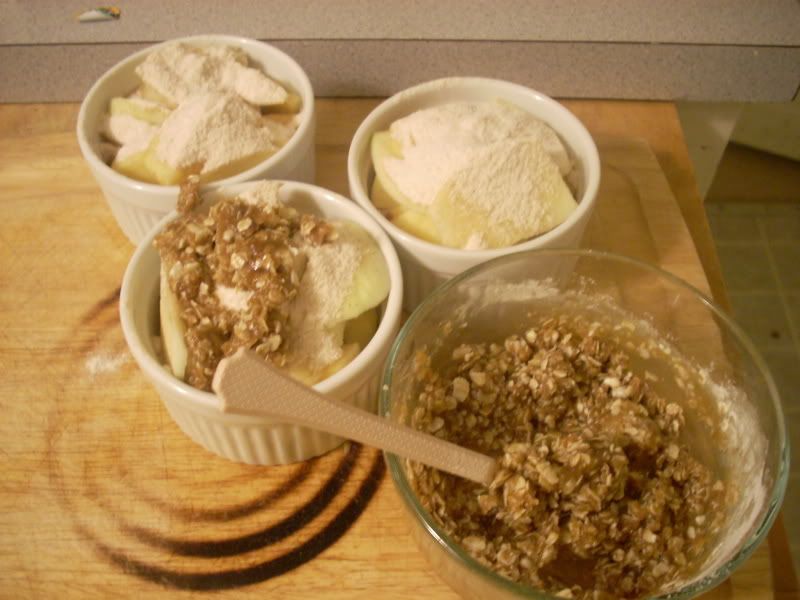
Combine the melted butter, the rest of the flour, oatmeal, and the brown sugar in another bowl. It should make a paste-like substance. Spread this evenly over the apple slices.
Pour the water evenly in the three ramekins, place the ramekins on a cookie sheet and bake for 30 minutes.
Enjoy a la mode or a la nude (no ice cream).
Pour the water evenly in the three ramekins, place the ramekins on a cookie sheet and bake for 30 minutes.
Enjoy a la mode or a la nude (no ice cream).
Special thanks to my sous chef/hoover vacuum, Luna!


